What is Music Mastering?
When you listen to your favorite song, what you hear is the final product of a complex process involving recording, mixing, and mastering. While recording and mixing are more widely understood, mastering remains somewhat mysterious. Yet, it plays a critical role in ensuring that a track sounds polished, cohesive, and professional, no matter where it’s played.
So, what exactly is music mastering? In simple terms, mastering is the final step in the music production process. It involves fine-tuning the mixed track to ensure it translates well across all playback systems. Whether it’s a streaming platform, a car stereo, or a high-end speaker system, mastering ensures that the music sounds consistent and balanced everywhere. It’s about making sure that the track has the right level of loudness, clarity, and depth while retaining its intended emotional impact.
Mastering can involve subtle adjustments in EQ (equalization), compression, stereo enhancement, and other processes to bring out the best in the music. It’s a critical step that can make the difference between a good track and a great one.

How to Master a Track
Mastering a track might seem like a daunting task, especially if you’re new to music production. However, by understanding the fundamental steps, you can approach it with confidence and creativity. Here’s a basic guide to mastering a track:
1. Prepare the Mix:
Before you start mastering, ensure that your mix is as polished as possible. This means balancing the levels, applying EQ, and ensuring that the track has a good dynamic range. A well-mixed track makes the mastering process much smoother.
2. Gain Staging:
Start by setting the overall level of your track. Make sure that the track isn’t peaking and that there’s enough headroom (around -6dB is a good rule of thumb). This allows you to apply processing without causing distortion.
3. EQ (Equalization):
EQ is used to shape the tonal balance of your track. This could involve cutting unwanted frequencies, such as harsh highs or muddy lows, or boosting certain areas to add warmth or brightness. The goal is to create a balanced and pleasing sound.
4. Compression:
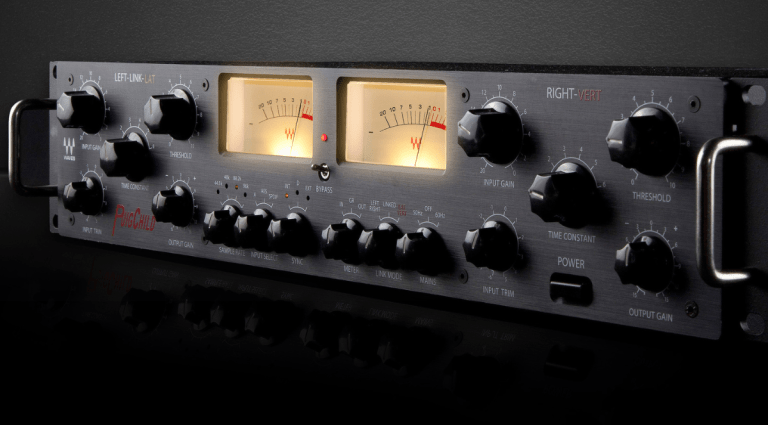
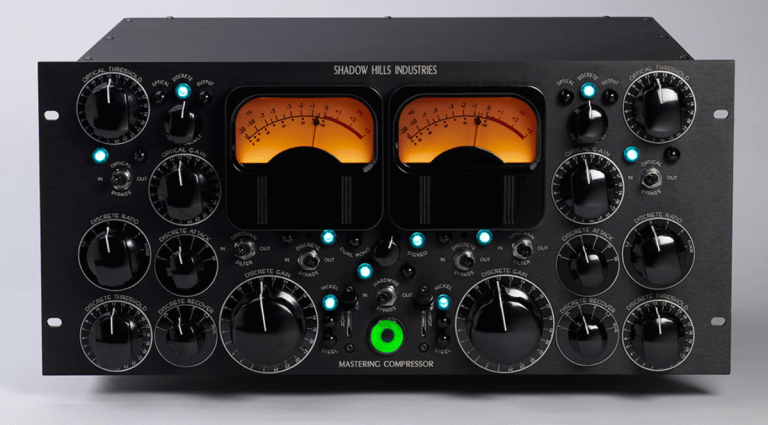
Compression is used to control the dynamic range of your track. It smooths out the peaks and raises the quieter parts, resulting in a more consistent sound. Be careful not to over-compress, as this can lead to a lifeless or “squashed” sound.
5. Stereo Enhancement:
Enhancing the stereo image can make your track sound wider and more immersive. This can be achieved by applying subtle widening techniques to certain frequencies, but avoid going too far, as excessive stereo widening can cause phase issues.
6. Saturation and Harmonics:
Adding saturation or harmonic distortion can give your track a sense of warmth, depth, and character. It’s like adding a subtle color to your mix that can make it more engaging and rich.
7. Limiting:
The final step in mastering is limiting, which is used to raise the overall loudness of the track without causing distortion. A limiter will ensure that the track is as loud as possible while still preserving its dynamic range. This is also where you set the final output level, making sure it meets the industry standards for loudness.
8. Final Listening and Adjustments:
After applying your chosen processing, take some time to listen to your track in various environments, such as through different speakers and headphones. Make any necessary adjustments to ensure it sounds great across all playback systems.
By following these steps, you can create a master that is polished, balanced, and ready for distribution. Remember, mastering is as much an art as it is a science, so trust your ears and don’t be afraid to experiment.

Mastering for Specific Purposes
Mastering isn’t a one-size-fits-all process. Different mediums and playback systems have unique requirements, and mastering engineers tailor their approach accordingly. Let’s explore how mastering differs depending on the intended platform.
Mastering for Streaming
Streaming platforms like Spotify, Apple Music, and Tidal each have their own loudness standards and playback characteristics. When mastering for streaming, it’s crucial to consider these standards to avoid your track being automatically adjusted by the platform, which can impact its sound. The goal is to ensure that your track sounds consistent with others in the playlist without losing its punch and dynamics. Using loudness meters and adhering to platform-specific guidelines will help achieve optimal results.
Mastering for Vinyl
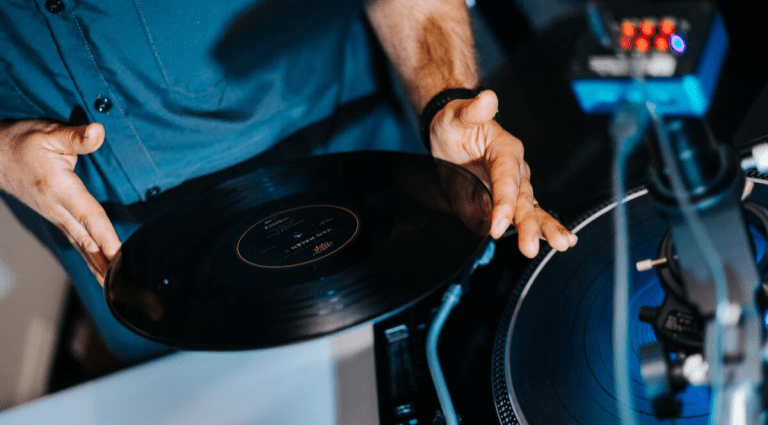
Vinyl is a physical medium that demands a unique approach to mastering. Unlike digital formats, vinyl has limitations in terms of dynamic range and frequency response. When mastering for vinyl, engineers often reduce excessive low-end and sibilance, as these can cause issues during playback. Additionally, the length of the track can influence the level of loudness; longer tracks require quieter cuts. The aim is to create a warm, full sound that complements the analog nature of vinyl records.
Mastering for CD
CD mastering involves ensuring that the track sounds its best within the 16-bit, 44.1 kHz digital format. CDs offer a wide dynamic range, so mastering engineers can make the most of this by preserving the track’s punch and clarity. However, the loudness war—a trend where tracks are made increasingly loud—has affected CD mastering practices. While it’s important to achieve competitive loudness, it’s equally crucial to maintain the dynamics and avoid distortion.
Mastering for Cassette
Cassette tapes have a distinct sound character, with limitations in frequency response and dynamic range. When mastering for cassette, the goal is to create a warm, punchy sound that compensates for the medium’s inherent tape hiss and other limitations. Engineers often reduce high-end frequencies to minimize hiss and boost the mid-range for a fuller sound. Cassette mastering is as much about embracing the quirks of the format as it is about overcoming its limitations.

Getting the Best Masters Through Referencing Music
One of the most effective ways to improve your mastering skills is by referencing other music. Referencing involves comparing your track to commercially released songs that you admire or that are similar in style to your own. This can help you gauge how your track stands up in terms of loudness, EQ balance, and overall impact.
Start by selecting a few reference tracks that are well-mastered and similar in genre or style to your music. Listen to these tracks on the same playback system you’ll be using for mastering. Pay close attention to the tonal balance, stereo width, and loudness of these references. Then, compare your track and make adjustments as needed.
Referencing can also be useful for calibrating your ears. By consistently listening to high-quality masters, you train your ears to recognize the characteristics of a great-sounding track. Over time, this practice will help you develop a more intuitive understanding of what your music needs during the mastering process.

Music Mastering FAQ’s
What plugins do I need to master my music?
When it comes to mastering, there are several essential plugins you’ll want to have in your toolkit. These include:
– EQ (Equalizer): For adjusting the tonal balance of your track.
– Compressor: To control the dynamic range.
– Limiter: For setting the final loudness level.
– Saturation: To add warmth and harmonic richness.
– Stereo Enhancer: To adjust the stereo width.
While these are the basics, other useful plugins include multiband compressors, dynamic EQs, and metering tools for measuring loudness, stereo width, and frequency distribution. The key is to use these tools to enhance the track subtly without over-processing it.
What DAW is best for mastering music?
Choosing the best DAW (Digital Audio Workstation) for mastering largely depends on personal preference and workflow. However, some DAWs are particularly well-suited for mastering due to their built-in tools. Popular choices include:
Steinberg WaveLab:
Known for its mastering-focused features, such as detailed metering and batch processing.
Avid Pro Tools:
A professional industry standard with powerful editing and processing capabilities.
Apple Logic Pro:
Offers a robust set of plugins and a user-friendly interface for mastering.
Ableton live:
Highly customizable, and equipped with the essential tools for mastering.
Ultimately, the best DAW is the one that you’re most comfortable using and that meets your specific needs.
Are online music mastering services worth it?
Online mastering services have gained popularity due to their convenience and affordability. These services often use algorithms to process your track, delivering a master within minutes. While they can be a option for quick and easy mastering, there are some big drawbacks.
Automated services lack the nuance and creativity that a human mastering engineer brings. Basically they often use a one-size-fits-all approach while they struggle with complex tracks or genres that require a more tailored approach. However, for demos or non-commercial releases, online mastering services can be a viable option. For professional projects where the highest quality is essential, investing in a skilled mastering engineer is always worth the extra cost.
Why not get in touch here to discuss your project?


