How to Mix Music
This guide will teach you how to mix music effectively. Whether you’re a beginner or looking to enhance your expertise, understanding the fundamentals of mixing is essential for achieving a polished, professional sound. We’ll cover top audio mixing tips, walk through the mixing process, and address frequently asked questions.

Music Mixing Techniques – Top Six Tips
As with any process, there are some basic fundamentals that will help you get started when mixing down your tracks. Remember, practice makes perfect, so try to use these tips in every project to build consistency and clarity in your mixes.
1. Balance Your Levels:
Achieving a good mix starts with balancing the volume levels of your individual tracks. Your goal is to make sure no single element overpowers the others, allowing each sound to sit comfortably in the mix.
2. EQ to Carve Space:
Use equalization (EQ) to carve out space for each instrument. By reducing frequencies that clash and boosting those that enhance a sound’s character, you can prevent your mix from sounding muddy.
3. Panning for Width:
Panning helps distribute sounds across the stereo field, creating a sense of space. Keep low-frequency sounds like bass and kick drum centered, and pan higher-frequency elements, like guitars or synths, left and right for a balanced stereo image.
4. Compression for Control:
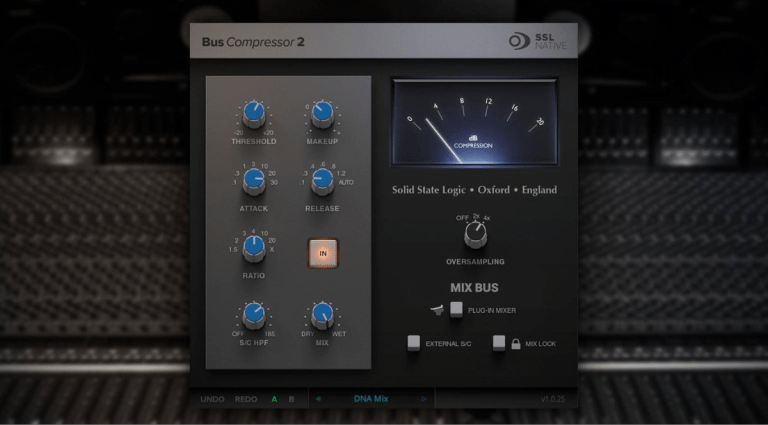
Compression helps manage the dynamics of your mix, ensuring that the quieter parts are audible and the louder parts aren’t overwhelming. Proper compression adds punch and consistency to your tracks.
5. Add Reverb and Delay:
Reverb and delay effects can add depth and dimension to your mix. Use them subtly to create a sense of space without washing out the sound.
6. Automation for Movement:
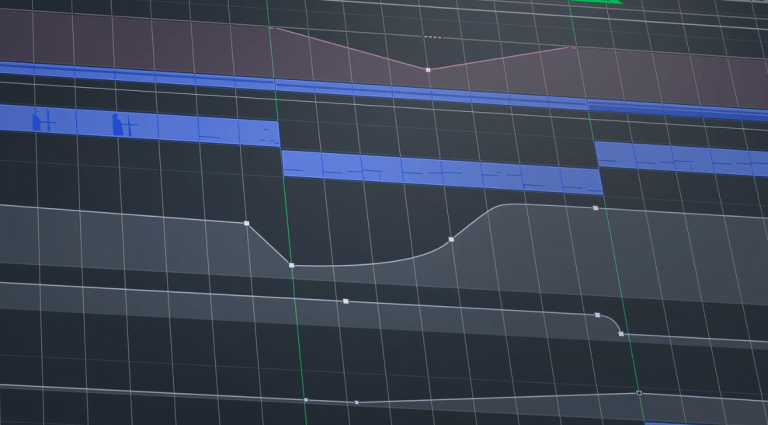
Automation allows you to adjust levels, panning, effects, and more over time, adding interest and movement to your mix. It’s key for bringing a track to life.
The Mixing Process
The mixing process involves balancing all the individual elements of your track—such as vocals, instruments, and effects—into a cohesive whole. Start by organizing your session, labeling tracks, and setting up a basic rough mix by adjusting levels and panning. Then, work on refining the balance through EQ, compression, and effects. Remember to take breaks to keep your ears fresh, and reference your mix against other producers in the genre to ensure your mix translates well.
Setting up Your Channels
Begin by organizing your session to streamline the mixing process. Label each track clearly and color-code them if possible. Arrange your channels by instrument type—such as drums, bass, guitars, and vocals—so you can easily navigate your session. Ensure that each track has its own channel in your digital audio workstation (DAW) and consider adding high-pass filters to remove unnecessary low frequencies, and low pass to cut out shrill highs. Careful use of high and low pass filtering reduces the frequency clashes that can muddy your mix.
Grouping in Busses
Grouping your tracks into busses allows you to apply processing to multiple tracks at once, which is both efficient and effective. For example, you can group all your drum tracks into a drum bus and apply compression, saturation, EQ, or reverb to the entire group. This helps maintain a consistent sound across similar instruments and simplifies your workflow by reducing the number of individual channels you need to adjust.
Building Your Mix
Once you’ve set up your channels and grouped them in busses, it’s time to build your mix. Begin by balancing the levels of the tracks, adjusting EQ, and applying compression where necessary. Use panning to create width and add reverb or delay to enhance the sense of space. Keep your ears open for any frequency clashes and use automation to add dynamics and movement to your track. The goal is to create a well-balanced mix where every element has its place.
Gain Staging Your Sounds
Proper gain staging is crucial for maintaining clarity and preventing distortion in your mix. Start by setting the input gain for each track so that the levels are neither too high nor too low. When mixing a band, aim for an average level around -18dBFS, with peaks no higher than -6dBFS at the master channel. These numbers give you plenty of headroom to add effects and adjust levels later in the mixing process without risking clipping or distortion.
Electronic music is often produced much louder. Often electronic music will be mixed into a compressor and limiter with average lufs of around -14 and peaks of -3 for a dynamic pre-master.
Ultimately, there are no firm rules, so experiment and see what works for you. Just be sure to avoid clipping and to leave enough room for mastering.
Referencing and Bouncing
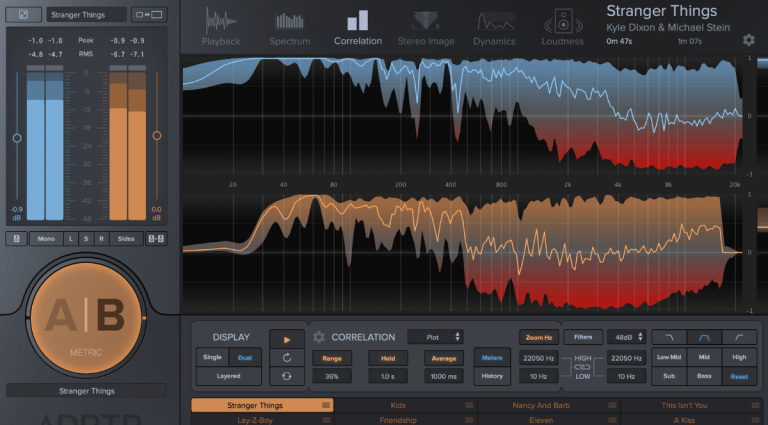
Referencing is a critical step in mixing. Regularly compare your mix to professional tracks in a similar genre to ensure your mix holds up. Pay attention to levels, tonal balance, and stereo width. Use multiple playback systems—headphones, monitors, car speakers—to check how your mix translates across different environments. Once you’re satisfied, bounce (export) your final mix, ensuring it’s at the right bit depth and sample rate for mastering. We suggest 24 bit and 44.1khz as a minimum. Always keep a few versions, like a vocal-up mix or instrumental, for flexibility later.
FAQ for the Mixing Process
Why Do I Need to Mix My Music?
Mixing is essential to make your music sound professional and enjoyable. Without mixing, your track could be cluttered, with elements clashing or getting lost. Mixing ensures that every part of your track—from the kick drum to the lead vocal—can be heard clearly and works together harmoniously. It’s the process that turns raw recordings into polished, radio-ready music.
Mixing vs. Mastering – What is the Difference?
Mixing and mastering are distinct but complementary processes. Mixing involves balancing, processing, and enhancing individual tracks to create a cohesive song. Mastering, on the other hand, is the final step, where the mixed track is optimized for distribution. Mastering adds the final polish, ensuring the track sounds great across all playback systems, and meets the loudness standards for streaming or physical media.
Can I Teach Myself to Mix Music?
Yes, you can teach yourself to mix music with dedication and practice. There are countless resources available online, from tutorials to courses, that can guide you through the process. Start by learning the basics, then practice mixing different genres to develop your ear and skills.
How Do I Know What Levels My Instruments Should Be?
While there are no hard rules, a good starting point is to set your drums and bass to the same level as a produced track. Pick a reference track that you know is well produced by a respected artist. Ensure the reference track is set to the same volume level as your project. Plugins like “Reference” by mastering the mix, will often match the gain on tracks for you. Build your mix around the levels you have set for the kick and bass, leaving headroom for mastering. Trust your ears and adjust based on the song’s needs.
Are Online Mixing Services Worth Considering?
Online mixing services can be a great option if you’re not confident in your mixing skills or lack the necessary equipment. These services offer professional results and a vital second opinion. Having another engineer listen to your tracks mitigates the emotional attachment that we often develop to a track. A fresh set of ears will often pick out issues that you have become used to, or that you have failed to spot altogether. Most
Bands use a third party engineer to mix and master their work, for this very reason.
Make sure to check reviews and sample work before committing to ensure an engineer meets your standards and is familiar with your genre.
Seven Common Music Mixing Mistakes
1. Ignoring Gain Staging: Poor gain staging can lead to a cluttered mix with clipping or distortion.
2. Overusing Reverb: Excessive reverb can make your mix sound muddy and distant. Use it sparingly.
3. Neglecting the Low End: Overpowering bass or kick can throw off your mix. Balance the low end carefully.
4. Mixing at High Volumes: Mixing at high volumes can lead to ear fatigue and poor decisions. Mix at moderate levels.
5. Relying on One Set of Speakers: Always check your mix on different playback systems to ensure it translates well.
6. Skipping Automation: Static mixes can sound boring. Use automation to add life and movement to your track.
7. No referencing: Referencing your song to professional mixed songs is a great way to highlight mistakes in your mix. They can even help eliminate some flaws in your listening environment. The pros do it, so should you.


